The Ultimate DIY Face Cream Recipe for Beginners: A Step-by-Step Guide
Have you ever looked at the back of your favourite high-end moisturiser and wondered what half those ingredients actually do? You aren’t alone. Many skincare enthusiasts are turning to homemade solutions to regain control over what goes onto their skin. If you’ve been searching for a DIY face cream recipe for beginners that doesn’t require a chemistry degree, you’ve come to the right place. Making your own face cream is not only incredibly satisfying, but it also allows you to customise the formula to suit your unique skin type without the hefty price tag or unnecessary synthetic fillers.
In this guide, you will learn the fundamental difference between a simple balm and a true emulsified cream, the essential ingredients every beginner needs, and a foolproof recipe that delivers a professional, lightweight finish. Whether you have dry, oily, or combination skin, this DIY face cream recipe for beginners will serve as your perfect starting point into the world of natural skincare formulation.
Why Making Your Own Face Cream is a Game Changer
Stepping into the world of DIY skincare can feel a bit daunting at first, but the benefits far outweigh the initial learning curve. One of the biggest advantages is the ability to use high-quality, Australian-sourced ingredients that are often diluted in commercial products. When you make your own DIY face cream recipe for beginners, you can ensure that every drop of jojoba oil or dollop of shea butter is pure and potent.
Beyond the quality of ingredients, making your own moisturiser is a fantastic way to reduce your environmental footprint. By reusing glass jars and buying ingredients in bulk, you significantly cut down on single-use plastic waste. Plus, there is a certain magic in knowing that the cream you apply every morning was crafted by your own hands with love and care. It transforms a mundane routine into a mindful ritual of self-care.
Balm vs. Cream: Understanding the Difference
Before we dive into the recipe, it is important to understand what makes a “cream” different from a “balm.” You might have seen recipes for [LINK: DIY tallow balm | skin nourishment] or simple oil-and-beeswax salves. These are wonderful for protecting the skin, but they are “anhydrous,” meaning they contain no water. While balms are great for sealing in moisture, they don’t actually provide hydration themselves.
A true cream is an emulsion—a stable mixture of oil and water. Because our skin needs both oil (to soften and protect) and water (to hydrate), an emulsified cream often feels more “sink-in” and less greasy than a heavy balm. To make this work, we use an emulsifying wax, which acts as a bridge to hold the oil and water together. This is the secret to achieving that professional, store-bought texture in your DIY face cream recipe for beginners.
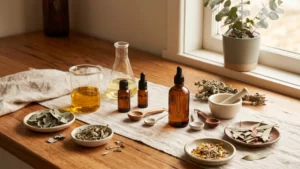
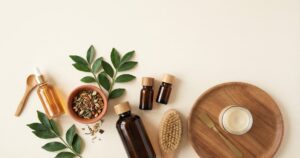
Essential Ingredients for Your First Batch
To keep things simple for your first attempt, we have selected ingredients that are easy to find and work beautifully for most skin types. Each component plays a specific role in the stability and effectiveness of your final product. Here is a deeper look at what you will need for this DIY face cream recipe for beginners:
- Distilled Water: This provides the essential hydration that your skin craves. While it might be tempting to use tap water or even filtered water, distilled water is a non-negotiable requirement. Tap water contains minerals, chlorine, and microscopic organisms that can cause your cream to spoil rapidly or react poorly with other ingredients. By using distilled water, you are starting with a clean slate.
- Jojoba Oil: Technically a liquid wax ester, jojoba oil is remarkably similar to the natural sebum produced by human skin. This means it is easily absorbed without leaving a greasy residue, making it an ideal choice for a DIY face cream recipe for beginners. It helps to balance oil production, making it suitable for both dry and oily skin types.
- Shea Butter: Sourced from the nuts of the shea tree, this butter is a powerhouse of vitamins A and E, as well as essential fatty acids. It provides the “body” of your cream and offers a protective barrier against environmental stressors. If you are in a particularly dry climate, shea butter will be your skin’s best friend.
- Emulsifying Wax NF: This is the “glue” that keeps your cream from separating into a mess of oil and water. Without an emulsifier, your ingredients would simply sit in layers. The “NF” stands for National Formulary, which ensures it meets specific standards for cosmetic use. It is easy to work with and very forgiving for first-time makers.
- Vegetable Glycerin: This is a humectant, which means it has the incredible ability to draw moisture from the air and bind it to your skin. Including glycerin in your DIY face cream recipe for beginners ensures that the hydration from the water phase actually stays where it belongs—in your skin—rather than evaporating away.
- Preservative: This is perhaps the most misunderstood ingredient in DIY skincare. Because this recipe contains water, it is a breeding ground for mould, yeast, and bacteria. A broad-spectrum preservative like Preservative Eco (also known as Benzyl Alcohol, Salicylic Acid, Glycerin, and Sorbic Acid) is essential. It is COSMOS-standard and widely used in natural skincare to keep products safe for 3 to 6 months.
Equipment and Hygiene
You don’t need laboratory equipment, but precision is key. A digital scale measuring in 0.1g increments is essential for a successful DIY face cream recipe for beginners. You will also need two heat-proof bowls, a small whisk, and a spatula. Hygiene is paramount; ensure your workspace is clean and spray all tools with 70% isopropyl alcohol to prevent bacterial growth.
The Step-by-Step DIY Face Cream Recipe for Beginners
This recipe makes approximately 100g of cream, which is the perfect size for a standard glass jar. Follow these steps carefully to ensure a stable, luxurious emulsion.
| Ingredient | Amount | Purpose |
|---|---|---|
| Distilled Water | 60g | Hydration base |
| Jojoba Oil | 15g | Lightweight moisturiser |
| Shea Butter | 10g | Rich nourishment |
| Emulsifying Wax NF | 5g | Binds water and oil |
| Vegetable Glycerin | 3g | Humectant (draws moisture) |
| Preservative Eco | 1g | Prevents mould/bacteria |
| Lavender Essential Oil | 5-10 drops | Soothes skin and adds scent |
Instructions:
- Sanitise Everything: Before you begin, thoroughly clean and sanitise your workspace, bowls, and whisks with 70% isopropyl alcohol. This is the most important step in any DIY face cream recipe for beginners to ensure your product stays fresh.
- The Oil Phase: In a small heat-proof bowl, combine the jojoba oil, shea butter, and emulsifying wax.
- The Water Phase: In a second heat-proof bowl, combine the distilled water and vegetable glycerin.
- The Heat & Hold: Place both bowls in a wide pan with a few centimetres of simmering water (a double boiler setup). Heat both phases until the wax and butter have completely melted and both bowls are roughly the same temperature (around 70°C).
- The Emulsion: Slowly pour the water phase into the oil phase while whisking constantly. You will notice the mixture turning milky and opaque immediately. Continue whisking for several minutes as it begins to cool.
- The Cool Down: Once the mixture has cooled to below 40°C (it should feel lukewarm to the touch), add your preservative and essential oils. Whisk again to ensure everything is thoroughly incorporated.
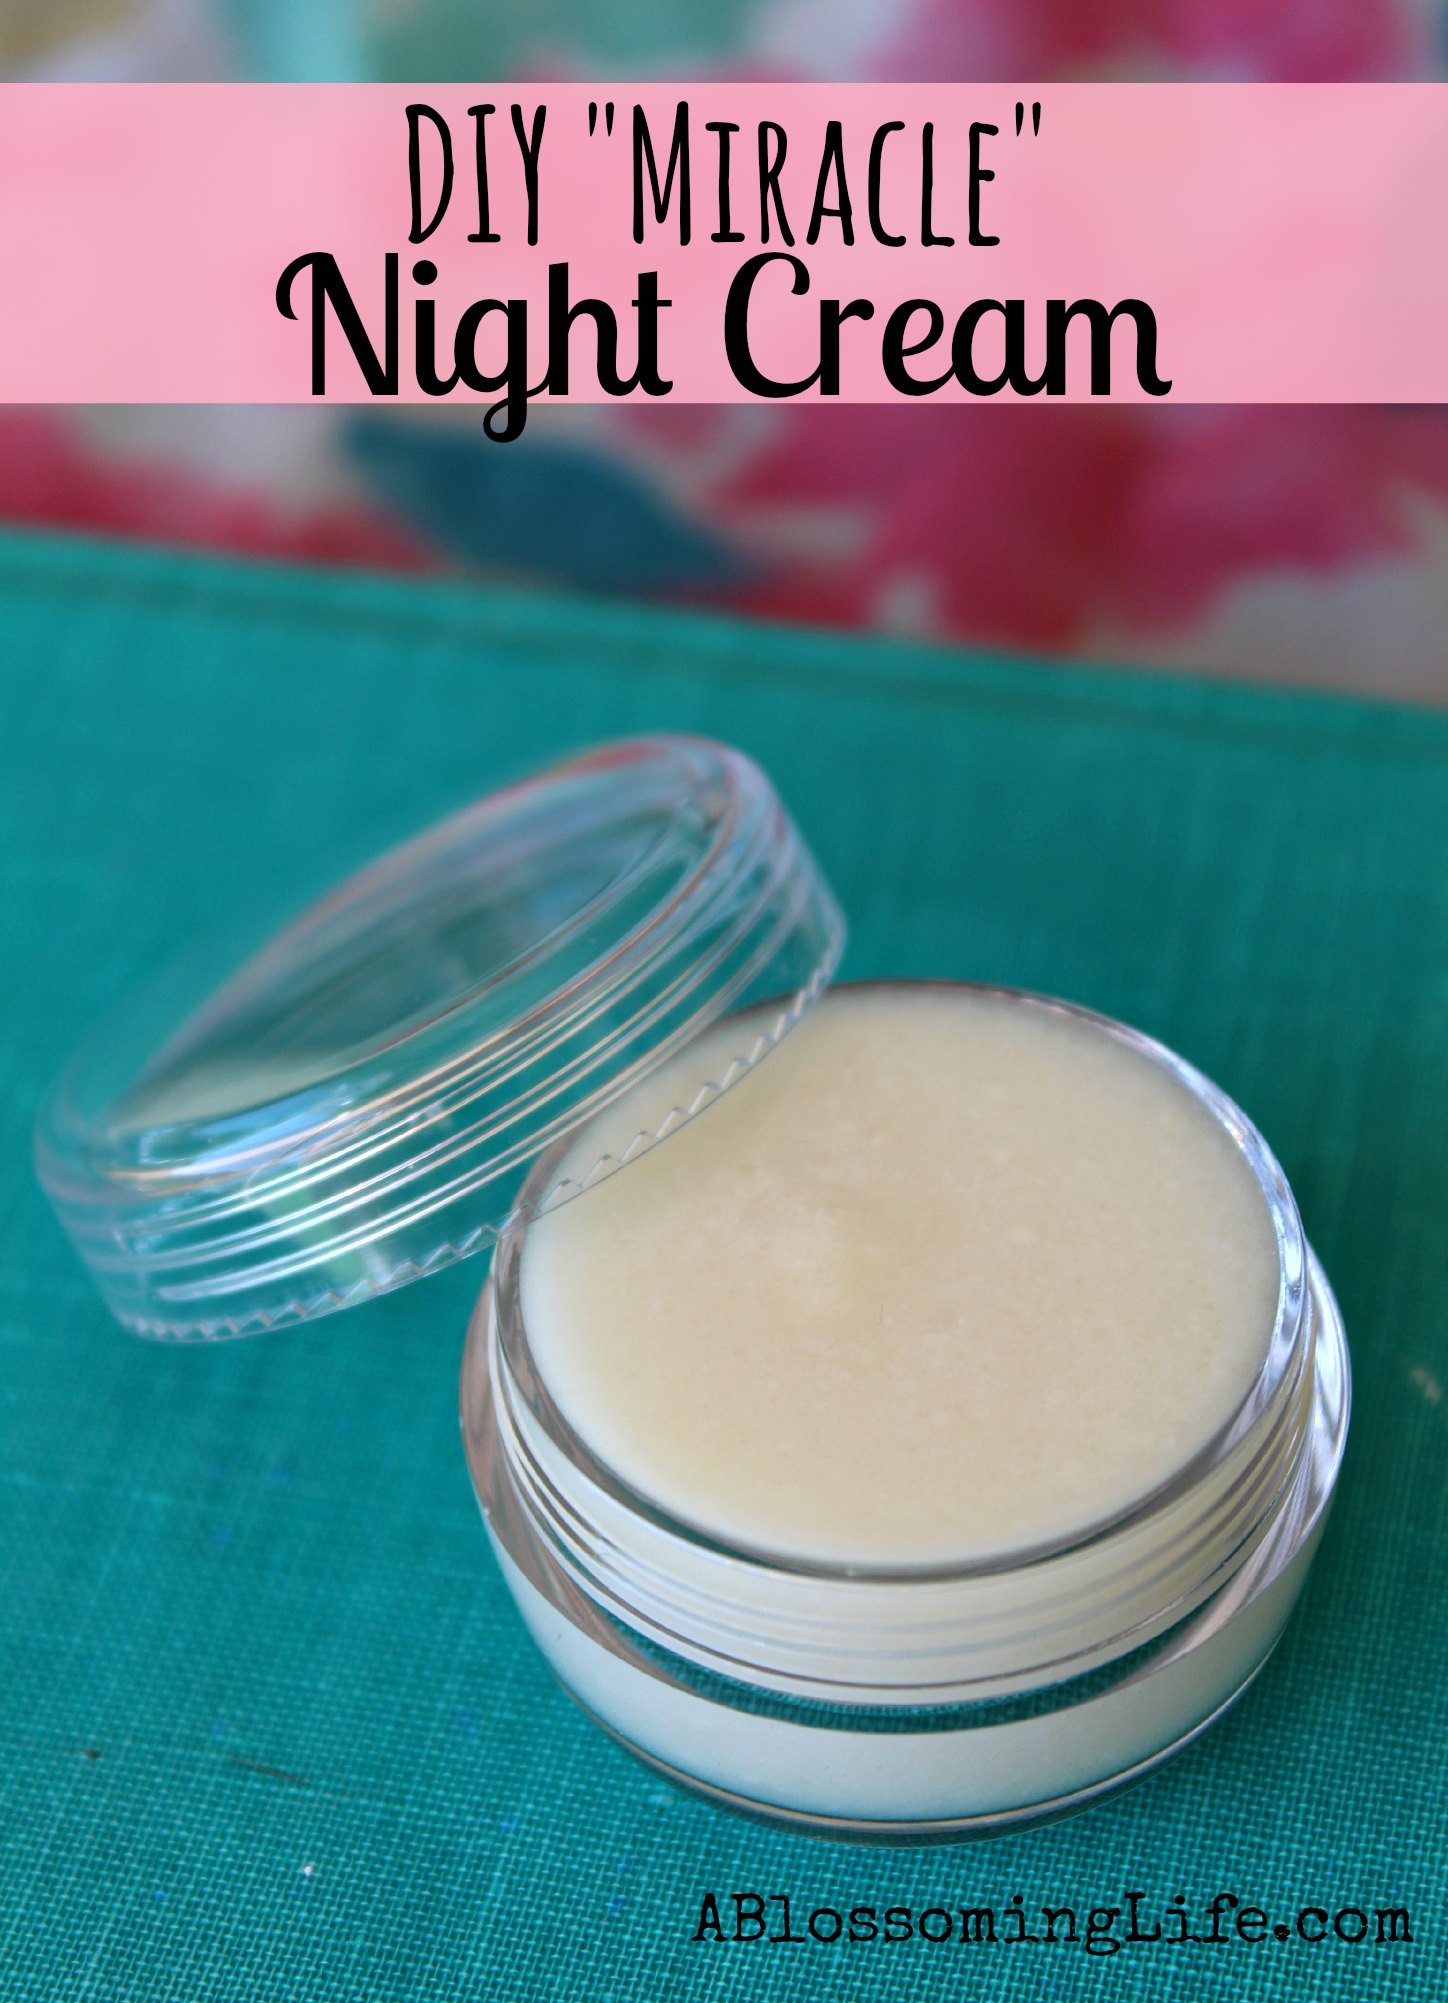
- Jar It Up: Pour your finished cream into a clean glass jar. The cream will continue to thicken over the next 24 hours as it fully sets.
Tips for Success and Troubleshooting
Even with a simple DIY face cream recipe for beginners, things don’t always go perfectly the first time. Here are a few tips to help you troubleshoot common issues:
- My cream separated: This usually happens if the oil and water phases weren’t at a similar temperature when mixed, or if you didn’t whisk long enough. You can try gently reheating the mixture and whisking again.
- It feels too greasy: If you find the cream a bit heavy, you can swap the shea butter for a lighter butter like mango butter, or increase the ratio of jojoba oil while slightly decreasing the butter. You might also want to check out our [LINK: carrier oils guide | choosing the right oil for your skin type] for more options.
- The texture is grainy: This often happens with shea butter if it is cooled too slowly. To avoid this, you can place your mixing bowl in a “cool-down bath” (a larger bowl of cool water) while whisking to speed up the cooling process.
Remember, skincare is personal. Don’t be afraid to experiment with different essential oils or carrier oils once you have mastered this basic DIY face cream recipe for beginners. If you’re looking for something even simpler for very sensitive skin, you might enjoy our [LINK: DIY zinc oxide cream | sensitive skin recipes].
Customising Your Recipe
Once you have mastered this basic DIY face cream recipe for beginners, you can start to tweak the ingredients. For mature skin, swap 5g of jojoba for rosehip oil. For oily skin, replace shea butter with a lighter oil like grapeseed. If you have extra dry skin, increase the shea butter by 5g for a thicker barrier. For more ideas, check out our [LINK: carrier oils guide | choosing the right oil for your skin type].
Final Thoughts
This DIY face cream recipe for beginners is your gateway to natural formulation. By choosing high-quality ingredients and following proper sanitisation, you can craft a product that is as unique as you are. As you gain confidence, you might even try our [LINK: DIY zinc oxide cream | sensitive skin recipes]. We would love to hear how your first batch turned out in the comments below!
You May Also Like