Ingredient sourcing note: Some ingredients mentioned in this article are available from The Skin Science Company (theskinsciencecompany.com.au), an Australian cosmetic raw materials supplier. We recommend them based on the quality and availability of their products. We have no commercial, affiliate, or sponsorship relationship with them and receive no payment or commission for these mentions.
Is Your Bathroom Bin Full of Plastic? What I Discovered When I Made My First Cleansing Balm
I was taking the recycling out last week when I really looked at my bathroom bin. It was overflowing.
I’m pretty good with my kitchen waste. I recycle, compost, buy in bulk. But my bathroom? That was a different story. It was a graveyard of plastic: face wash bottles, half-empty serum pumps, and moisturiser tubs. I was honestly shocked.
It just felt so wasteful. It got me thinking: could I stop *buying* all this plastic and just… make my own? I’d been curious about a DIY cleansing balm for ages, but this was the final push I needed.
Here’s What I Learned About Those Plastic Bottles
If you’re anything like me, you probably have a bathroom shelf full of “gentle” cleansers. But when I started really reading the labels, I couldn’t pronounce half the ingredients.
So many of them are packed with surfactants that strip your skin, leaving it feeling tight and dry. I realised I was spending money on a plastic bottle full of ingredients I didn’t love, just to throw the bottle away a month later.
This was my lightbulb moment for real zero waste skincare. Why not use simple, pure, natural ingredients that I could buy in bulk or in glass, and put them in a reusable jar?
And that’s when I fell in love with the cleansing balm benefits.
-
It doesn’t strip your skin. It uses nourishing oils to *dissolve* the day’s grime, makeup, and sunscreen, leaving your skin’s natural moisture barrier happy and intact.
-
It’s a multitasking hero. It takes off everything, even stubborn mascara, in one simple step. No more need for a separate makeup remover (and its plastic bottle).
-
It’s completely, beautifully waste-free. You make it, you put it in a glass jar, and when you run out, you just make more. No bin required.
My Simple, Natural Cleansing Balm Recipe
This is the part that can feel intimidating, but I promise: if you can melt chocolate, you can make this. This recipe is for a basic, unscented balm. Once you’re comfortable, you can start experimenting with different oils.
I’m sharing the version I love most. It’s creamy, effective, and uses ingredients you can find easily.
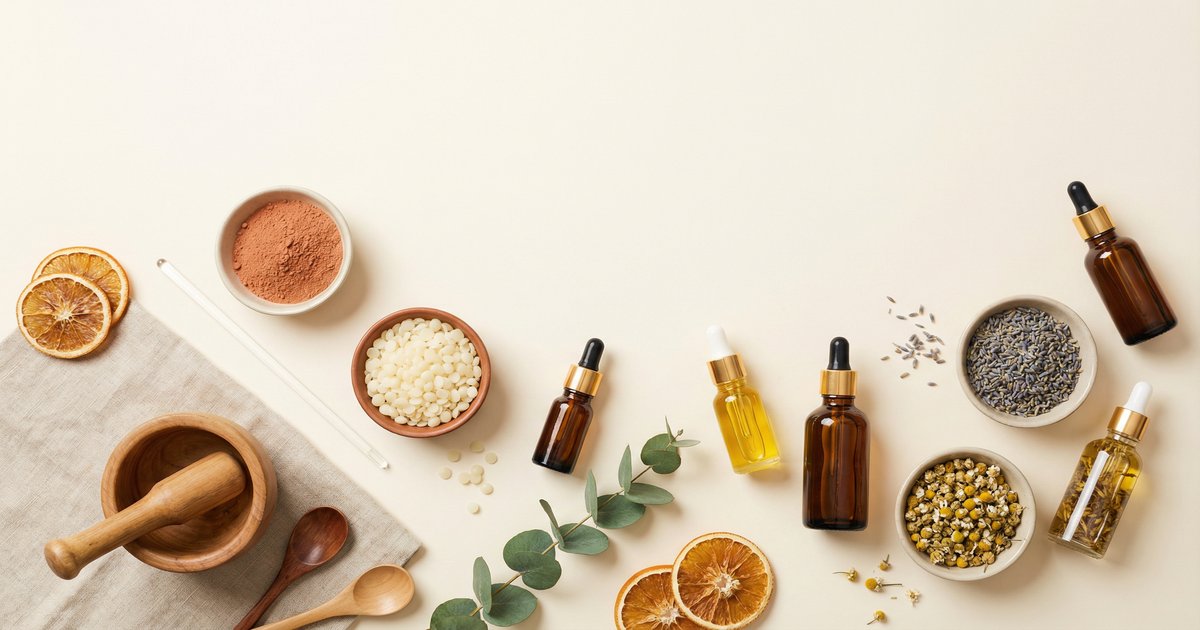
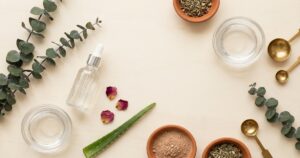
What You’ll Need
-
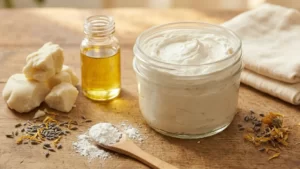
40g Shea Butter: This is the creamy, nourishing base. It’s packed with vitamins and makes the balm feel so luxurious. I buy mine in a block wrapped in paper.
-
30g Jojoba Oil: I love this oil. It’s technically a liquid wax, and its structure is incredibly similar to our skin’s own sebum. (Sweet almond or grapeseed oil work beautifully, too! Just be sure to pick one that works for your skin, as some can be comedogenic.)
-
15g Beeswax Pellets: This is what gives the balm its lovely solid texture, so it doesn’t just slide everywhere. (If you’re vegan, candelilla wax works perfectly, just use a little less—maybe 10-12g).
-
1/2 tsp Vitamin E Oil: This isn’t just great for your skin; it’s an antioxidant that helps keep the oils in your balm fresh and stable.
-
A clean, dry glass jar (about 100ml): An old jam or salsa jar is perfect. Just make sure it’s completely dry.
A Note on Oils: You might notice I don’t use coconut oil. While it’s great for some things, it can be problematic for faces. If you’re looking for other options, check out these coconut oil breakout alternatives.
How to Make Your Cleansing Balm
-
Create a “double boiler.” I just put a heatproof glass bowl over a small saucepan with an inch or two of simmering water. Make sure the water doesn’t touch the bottom of the bowl.
-
Add your shea butter, jojoba oil, and beeswax pellets to the bowl. Let them melt together gently, stirring every so often. This is the relaxing part. It’ll take about 5-10 minutes.
-
Once everything is completely liquid and combined, take the bowl off the heat. Let it cool down for just a minute or two.
-
Stir in your Vitamin E oil. If you wanted to add a drop or two of essential oil (like lavender), now would be the time.
-
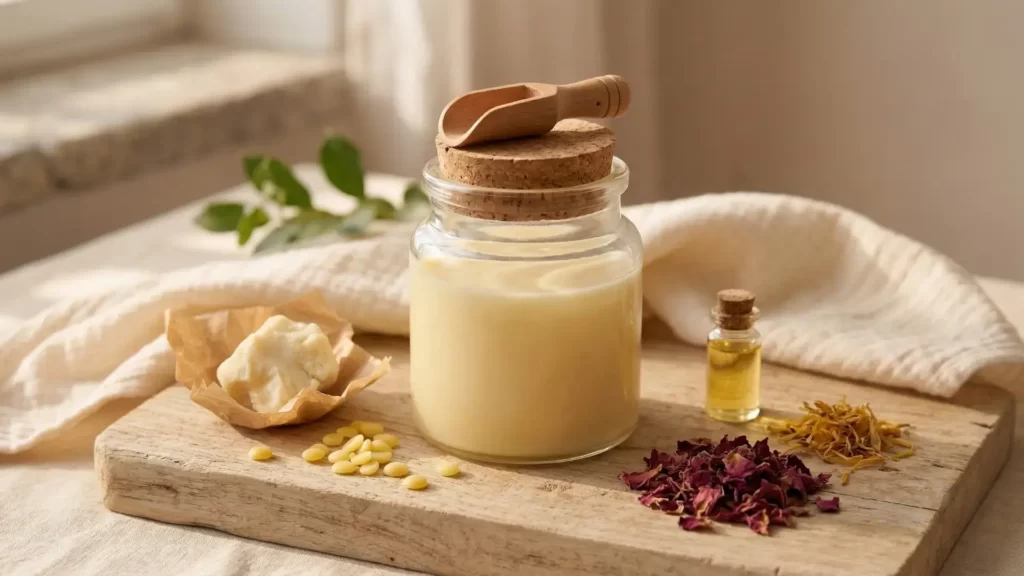
Carefully pour the liquid gold into your clean glass jar. That’s it! Let it sit on the counter for a few hours (or pop it in the fridge) to set completely. Don’t put the lid on until it’s totally cool.
I was so proud of my little jar. It looked and felt just as good as any expensive brand I’d ever bought.
How to Use It (This is My Favourite Part)
This is where the magic happens. Using a cleansing balm isn’t a chore; it’s a ritual.
Scoop a small, pea-sized amount with a clean finger or a little spatula. Warm it between your dry hands until it melts into a rich oil. Then, just massage it all over your dry face. Don’t wet your skin first!
Gently work it into your eyelashes to melt mascara, over your brows, and all over. Give yourself a little face massage. It feels amazing.
Now, take a face cloth (a simple flannel or muslin cloth is perfect) and run it under comfortably warm water. Wring it out, and just lay it over your face for a moment. The steam is everything. Gently wipe everything away. Your skin won’t feel tight or squeaky—just clean, soft, and nourished.
The best part: your skin won’t feel tight or squeaky. It just feels clean, soft, and nourished.
The Easiest ‘Eco-Swap’ I’ve Made
Honestly, my skin has never felt better, and my bathroom bin is noticeably emptier. It’s also so much cheaper in the long run.
This one simple DIY cleansing balm has genuinely been the best and easiest swap I’ve made all year. It’s so gentle, and while it’s not a dedicated DIY eczema cream, my dry skin has never felt happier. It feels good for my skin, my wallet, and my little recycling bin.
Have you tried making your own? I’d love to hear what oil blends you love.
You May Also Like

2 Comments