Have you ever wondered why your skin looks its absolute best after a long, restful sleep? It is not just about the hours of shut-eye; it is about the incredible restorative work your skin performs while you are off in dreamland. During the night, your skin’s permeability increases, making it the perfect time to feed it the high-quality, nourishing ingredients it craves. If you have been searching for the ultimate DIY night cream recipe to transform your evening routine, you have come to the right place. In this guide, we will explore why a dedicated night moisturiser is a game-changer and how you can craft a professional-grade cream right in your own kitchen using simple, natural ingredients.
The Science of Sleep: Why Your Skin Needs a Night Cream
Many people assume that a standard day moisturiser is sufficient for 24-hour hydration, but the truth is that your skin has very different needs depending on the position of the sun. During the day, your skin is in “protection mode,” fending off UV rays, pollution, and environmental stressors. This is why day creams are often lighter and formulated with antioxidants and SPF. However, once the sun goes down, your skin switches into “repair mode.” This is when cell regeneration peaks and the skin’s barrier works to recover from the day’s damage.
A well-formulated DIY night cream recipe takes advantage of this natural rhythm. Because you are not worried about looking greasy or applying makeup over your cream, a night-time formula can be much richer and more occlusive. These thicker textures help to lock in moisture and prevent trans-epidermal water loss (TEWL), which is significantly higher at night. By providing a concentrated dose of vitamins and fatty acids while you sleep, you are essentially giving your skin the tools it needs to rebuild and rejuvenate, leading to a firmer, brighter complexion by morning.
Furthermore, the absence of sunlight means you can use potent ingredients that might otherwise cause photosensitivity. While our focus today is on a nourishing, universal base, understanding the [LINK: beginners guide to DIY face moisturisers | foundational principles of moisturising] will help you appreciate why these richer ingredients are so effective during the nocturnal hours. Whether you are dealing with the harsh Australian sun during the day or the drying effects of indoor heating at night, a dedicated night cream is your skin’s best line of defence.
Choosing the Best Ingredients for Your DIY Night Cream Recipe
The beauty of making your own skincare is the ability to customise every single drop to suit your unique skin type. For a truly effective night cream, we want to combine humectants that draw moisture in, emollients that smooth the skin, and occlusives that seal everything in. Below is a breakdown of the powerhouse ingredients we will be using in our signature DIY night cream recipe and why they earned their spot on the list.
| Ingredient | Amount | Purpose |
|---|---|---|
| Shea Butter | 1/4 Cup | Rich emollient and occlusive that deeply nourishes and protects the skin barrier. |
| Jojoba Oil | 2 Tablespoons | A liquid wax that closely mimics human sebum, providing non-greasy hydration. |
| Rosehip Oil | 1 Tablespoon | High in Vitamin A and C, perfect for skin regeneration and reducing fine lines. |
| Sweet Almond Oil | 1 Tablespoon | Soothes irritation and improves skin tone and elasticity. |
| Vitamin E Oil | 1/2 Teaspoon | A powerful antioxidant that repairs skin and acts as a natural preservative for oils. |
| Lavender Essential Oil | 5-8 Drops | Promotes relaxation for better sleep and has anti-inflammatory properties. |
| Frankincense Essential Oil | 3-5 Drops | Known for its “anti-ageing” properties and ability to support cellular health. |
Shea butter serves as the luxurious base of our cream. It is packed with fatty acids and vitamins, making it incredibly softening for the skin. If you find shea butter too heavy, you could substitute it with mango butter, which offers a lighter feel while still providing excellent moisture. Jojoba oil is another essential component because it is technically a wax ester, not an oil, which means it does not clog pores and helps balance your skin’s natural oil production. For those looking to boost their routine even further, consider how this cream might pair with a [LINK: DIY hyaluronic acid moisturiser recipe | hydrating serum] applied beforehand to maximise water retention.
Step-by-Step: How to Make Your Custom Night Cream
Creating your own skincare might feel like a daunting chemistry experiment, but it is actually quite simple and incredibly rewarding. The key to a successful DIY night cream recipe is patience and cleanliness. Ensure all your tools and jars are thoroughly sanitised before you begin to prevent any bacterial growth. This recipe uses a “waterless” balm-to-cream method, which means it has a long shelf life and does not require a complex emulsification process or strong synthetic preservatives.
Step 1: The Melting Process
Start by setting up a double boiler. If you do not have one, simply place a heat-safe glass bowl over a pot of simmering water. Add your 1/4 cup of shea butter and 2 tablespoons of jojoba oil to the bowl. Allow them to melt slowly over low heat, stirring occasionally with a clean silicone spatula. It is important not to overheat the ingredients, as excessive heat can degrade the beneficial vitamins in the shea butter. Once the mixture is completely liquid and clear, remove the bowl from the heat.
Step 2: The Cooling Phase
Let the mixture cool for about 10 to 15 minutes. You want it to reach a point where it is still liquid but no longer hot to the touch. This is the “sweet spot” for adding your more delicate oils. Now, stir in the 1 tablespoon of rosehip oil and 1 tablespoon of sweet almond oil. Rosehip oil is particularly sensitive to heat, so adding it now ensures its potent antioxidants remain intact. Finally, add the Vitamin E oil, which will help protect the other oils from going rancid too quickly.
Step 3: Adding the Aromatherapy
Once the oils are well combined, add your essential oils. Lavender and Frankincense are a classic combination for a DIY night cream recipe because they smell divine and offer genuine skin benefits. Lavender helps to calm the mind for sleep, while Frankincense is legendary for its ability to support skin elasticity. Give the mixture a final, gentle stir to ensure the essential oils are evenly distributed throughout the balm.
Step 4: The Whipping Secret
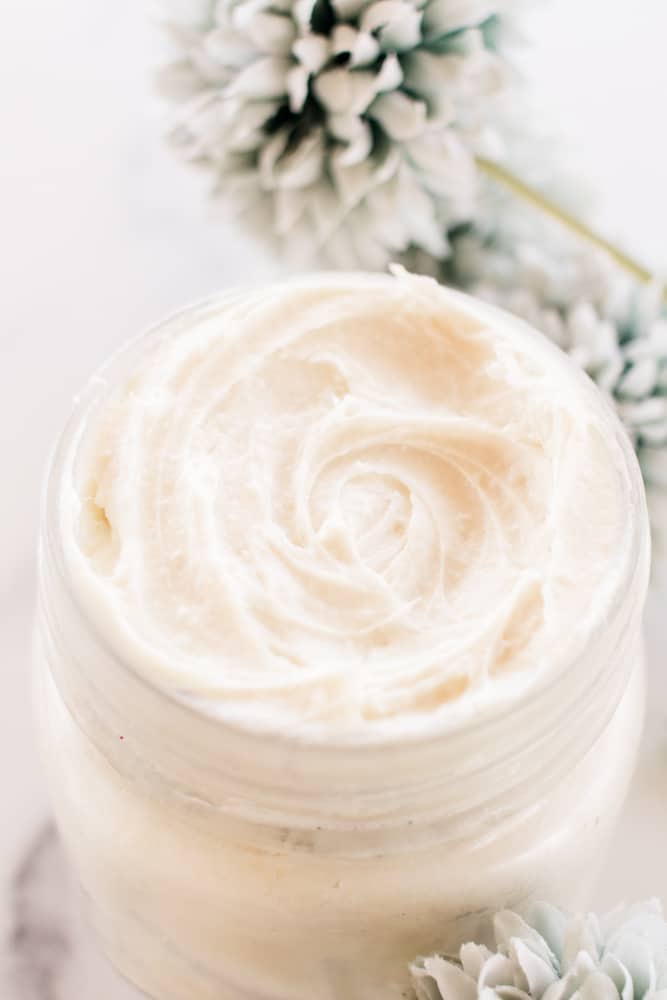
To achieve that light, “store-bought” cream texture, place your bowl in the refrigerator for about 20 to 30 minutes. You are looking for the mixture to become opaque and semi-solid (similar to the consistency of soft butter). Once it reaches this stage, take a hand mixer and whip the mixture on high speed for 2 to 5 minutes. You will see it transform from a yellow balm into a fluffy, white, luxurious cream. Transfer the finished product into a clean glass jar and store it in a cool, dark place.
Troubleshooting and Customising Your Night Cream
One of the most common questions we get regarding this DIY night cream recipe is how to adjust it for different skin concerns. If you have very oily or acne-prone skin, you might worry that a butter-based cream will cause breakouts. In this case, you can increase the ratio of jojoba oil and decrease the shea butter, or swap the sweet almond oil for grapeseed oil, which is much lighter and higher in linoleic acid. Conversely, if you have extremely dry or mature skin, adding a teaspoon of argan oil or avocado oil can provide an extra boost of richness.
If your cream feels “gritty,” it is likely because the shea butter cooled too slowly, allowing the fat molecules to crystallise. To fix this, simply melt the cream down again and follow the “flash cooling” method by placing the melted mixture directly into the freezer for a few minutes before whipping. This forced rapid cooling prevents crystals from forming and results in a silky smooth texture every time. Remember that because this is a natural product without stabilisers, it may soften in very hot weather. If you live in a particularly warm part of Australia, storing your night cream in the fridge can provide a refreshing, cooling sensation when applied before bed.
Another tip for success is to always apply your night cream to slightly damp skin. This helps the oils to trap existing moisture on the surface of your skin, leading to better absorption and a more hydrated feel. You might also want to explore [LINK: choosing the right carrier oils | our guide on carrier oils] to find the perfect match for your specific complexion needs, ensuring your night cream is as unique as you are.
Conclusion: Embrace the Glow
Investing time in a dedicated evening skincare routine is one of the kindest things you can do for your skin. By following this DIY night cream recipe, you are not only saving money but also ensuring that only the purest, most effective ingredients are touching your face. No fillers, no synthetic fragrances, and no harsh chemicals—just pure, botanical goodness working in harmony with your skin’s natural repair cycle.
As you massage this rich cream into your skin each night, take a moment to enjoy the calming scent of lavender and the knowledge that you are nourishing your complexion from the outside in. Within just a few weeks of consistent use, you will likely notice a significant improvement in your skin’s texture, hydration levels, and overall radiance. So, why wait for a special occasion to pamper yourself? Start crafting your signature night cream today and wake up to the glowing, healthy skin you deserve. Happy formulating!
You May Also Like