How to Make the Best DIY Shea Butter Face Cream for Glowing Skin
If you have ever found yourself staring at the long, confusing ingredient list on the back of a high-end moisturiser and wondering if there is a better way, you are not alone. Many of us in the Australian DIY skincare community are making the switch to homemade alternatives that are just as effective, if not more so, than store-bought versions. One of the most beloved ingredients in our toolkit is raw shea butter. This natural powerhouse has been used for centuries to nourish and protect the skin, and today, I am going to show you exactly how to harness its benefits. In this guide, you will learn how to create a DIY shea butter face cream that feels like a luxury spa treatment but costs only a fraction of the price. We will cover everything from selecting the right carrier oils to the step-by-step whipping process that gives this cream its heavenly, non-greasy texture. By the time you finish reading, you will have all the knowledge needed to craft a personalised moisturiser that perfectly suits your skin’s unique needs.
Making your own skincare is not just about saving money; it is about taking control of what goes onto your body. In a world where many commercial products are filled with synthetic fragrances and harsh preservatives, creating a DIY shea butter face cream allows you to prioritise purity and potency. You can choose ingredients that are organic, ethically sourced, and free from any hidden nasties. This process is incredibly rewarding, and there is a certain magic in watching a few simple, natural ingredients transform into a luxurious, whipped cream that leaves your skin feeling soft, hydrated, and radiant. Whether you are a seasoned DIY enthusiast or a complete beginner, this recipe is straightforward and highly effective, making it the perfect addition to your daily beauty ritual.
Why Your Skin Will Love This DIY Shea Butter Face Cream
Shea butter is often called “women’s gold” in Africa, and for good reason. It is packed with high concentrations of fatty acids and vitamins, specifically Vitamin A and Vitamin E, which are essential for maintaining skin elasticity and a healthy glow. When you make your own DIY shea butter face cream, you are giving your skin a direct dose of these nutrients without any of the synthetic fillers, parabens, or artificial fragrances found in commercial products. For those of us living in Australia, where the sun and wind can be particularly harsh on our complexions, shea butter provides an excellent protective barrier that locks in moisture without clogging pores. This natural barrier is especially important during the dry winter months or after a long day at the beach, as it helps to soothe and repair the skin’s natural moisture barrier.
One of the biggest misconceptions about using butter on your face is that it will leave you feeling greasy. However, when formulated correctly with the right balance of “dry” oils like jojoba or rosehip, shea butter absorbs beautifully. It mimics the skin’s natural sebum, making it suitable for a variety of skin types, including dry, mature, and even combination skin. By crafting this at home, you have total control over the quality. You can choose [LINK: organic raw shea butter | benefits of raw ingredients] to ensure you are getting the maximum antioxidant benefits for your skin. Furthermore, shea butter has natural anti-inflammatory properties that can help to calm redness and irritation, making it a fantastic choice for those with sensitive skin. It is truly a versatile ingredient that addresses multiple skin concerns in one simple application.
The benefits of shea butter extend beyond simple hydration. It contains cinnamic acid, which provides a small amount of natural UV protection, although it should never replace your daily sunscreen. The fatty acids in shea butter, such as oleic and stearic acids, help to nourish the skin deeply, promoting a smoother and more even complexion over time. Regular use of a DIY shea butter face cream can also help to reduce the appearance of fine lines and wrinkles, as the vitamins it contains support collagen production. This makes it an excellent choice for anyone looking to maintain a youthful and vibrant appearance naturally. By incorporating this cream into your nighttime routine, you allow your skin to absorb all these beneficial nutrients while you sleep, waking up to a noticeably softer and more refreshed face.
Choosing the Perfect Ingredients for Your Face Cream
The secret to a successful DIY shea butter face cream lies in the synergy between the butter and your chosen carrier oils. While shea butter provides the creamy base and deep hydration, the carrier oils determine the final texture and specific skin benefits. For a face cream, we want oils that are lightweight and high in nutrients. Jojoba oil is a top choice because its chemical structure is incredibly similar to our skin’s natural oils, allowing it to penetrate deeply without leaving a heavy residue. Sweet almond oil is another Australian favourite, known for its ability to soothe irritation and improve skin tone. It is rich in Vitamin E, which acts as a powerful antioxidant, protecting your skin from environmental damage.
If you are targeting specific concerns like fine lines or scarring, you might consider adding a small amount of rosehip oil or vitamin E oil. Rosehip oil is famous for its regenerative properties, making it a perfect companion for shea butter in an anti-aging formula. It is packed with Vitamin C and Vitamin A, both of which are known for their ability to brighten the skin and promote cell turnover. Additionally, the inclusion of essential oils can elevate your cream from a simple moisturiser to a therapeutic experience. Lavender is excellent for calming the skin, while frankincense is prized for its rejuvenating effects. Just remember to always use high-quality, therapeutic-grade oils to ensure safety and efficacy on the delicate skin of your face.
Step-by-Step DIY Shea Butter Face Cream Recipe
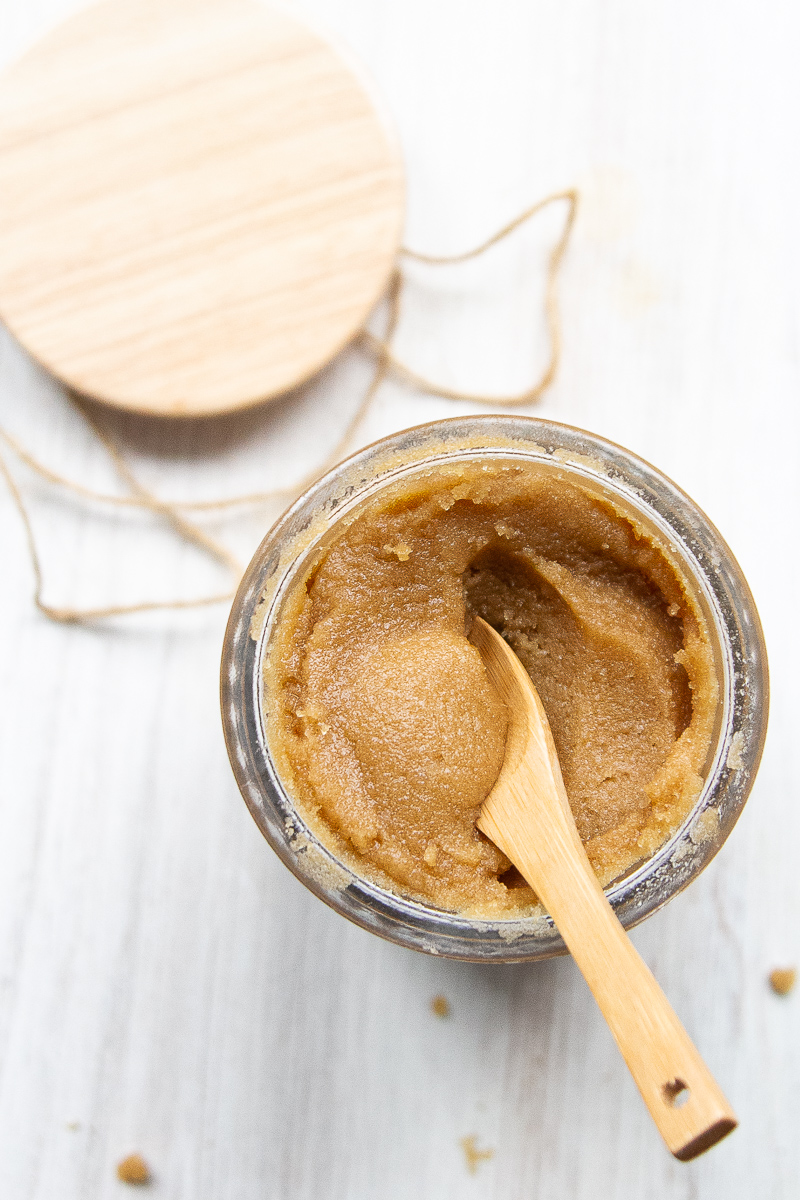
This recipe is designed to create a light, whipped texture that feels airy and luxurious. Unlike a heavy balm, this whipped version is much easier to apply and absorbs more quickly into the skin. It is important to follow the cooling and whipping steps carefully to achieve that perfect “cloud-like” consistency. This process might take a little patience, but the result is a cream that is a joy to use every single day.
| Ingredient | Amount | Purpose |
|---|---|---|
| Raw Shea Butter | 1/2 Cup | Deeply moisturises and provides a creamy base. |
| Jojoba Oil | 2 Tablespoons | Balances sebum production and aids absorption. |
| Sweet Almond Oil | 1 Tablespoon | Soothes skin and adds Vitamin E. |
| Rosehip Oil (Optional) | 1 Teaspoon | Promotes skin regeneration and glow. |
| Lavender Essential Oil | 5-10 Drops | Calms the skin and provides a natural scent. |
Instructions:
- Melt the Butter: Place your raw shea butter in a heat-safe glass bowl. Using a double boiler method, gently melt the butter until it is completely liquid. Avoid direct high heat, as this can degrade the beneficial vitamins.
- Combine with Oils: Once melted, remove the bowl from the heat. Stir in the jojoba oil, sweet almond oil, and rosehip oil. Mix well until the oils are fully integrated with the liquid shea butter.
- Cooling Phase: Place the bowl in the refrigerator for about 30 to 45 minutes. You want the mixture to start setting around the edges but still be soft in the middle. It should look slightly opaque and have a soft, butter-like consistency.
- Add Essential Oils: Once the mixture has reached the right semi-solid state, add your lavender essential oil. This ensures the scent stays fresh and the properties of the oil are not damaged by heat.
- Whip to Perfection: Using a hand mixer or a stand mixer, whip the mixture on high speed for 5 to 10 minutes. You will see it transform from a yellow oil into a white, fluffy, and voluminous cream. It should look like stiff whipped cream when it is finished.
- Storage: Transfer your finished cream into a clean, airtight glass jar. Store it in a cool, dry place away from direct sunlight.
Tips and Troubleshooting for the Perfect Consistency
Making your own DIY shea butter face cream is a bit like baking; sometimes the environment can affect the outcome. If you find that your cream is too hard, it might be because your home is quite cool, especially during an Australian winter. You can remedy this by slightly increasing the amount of liquid carrier oil in your next batch or simply warming a small amount between your palms before applying. Conversely, if the cream feels too greasy, you may have used too much almond oil. Jojoba oil is generally better for reducing that oily feeling as it is considered a “dry” oil. Another common issue is “graininess” in shea butter, which happens when it cools too slowly. To prevent this, make sure you move the melted mixture to the fridge promptly and whip it thoroughly once it starts to set.
For those with oily or acne-prone skin, don’t be afraid of shea butter. While it is rich, it has a low comedogenic rating, meaning it is unlikely to clog pores for most people. However, you might want to swap the sweet almond oil for [LINK: hemp seed oil | non-comedogenic oils for acne] to ensure the cream remains lightweight and less likely to trigger breakouts. Always perform a patch test on a small area of your skin before applying any new DIY creation to your entire face. This ensures that your skin loves the ingredients as much as you do. If you notice any redness or irritation, discontinue use and consult with a professional. Skincare is personal, and what works for one person might not work for another, so feel free to tweak the recipe until it is perfect for you.
You May Also Like