Unlock Firmer, Youthful Skin: Your Ultimate Guide to a DIY Peptide Serum
What if the secret to firmer, plumper skin was not locked inside fancy jars with astronomical price tags? Imagine crafting your own potent DIY peptide serum at home that rivals high-end anti-ageing products. Peptides are powerful skin boosters, yet many don’t realise how accessible and straightforward it is to include them in a personalised serum. Ready to elevate your skincare routine with science-backed ingredients and hands-on formulation? Let’s dive into making a firming serum that your skin will thank you for.
Why Choose a DIY Peptide Serum for Firming Skin?
Peptides are short chains of amino acids that signal your skin to produce more collagen and elastin, essential proteins responsible for skin’s firmness and elasticity. Unlike many bulky moisturisers, peptides target the skin’s structure at a cellular level, promoting repair, reducing fine lines, and improving texture.
Creating a DIY peptide serum lets you customise concentrations, combine actives effectively, and avoid unnecessary fillers or irritants. Plus, you gain full control over ingredient quality and sourcing, making your skincare both ethical and effective.
Understanding Peptides: Types and Usage Levels
When formulating your serum, it’s crucial to select peptides that complement each other. Here are some common peptides for firming and anti-ageing:
- Matrixyl 3000 (Palmitoyl Tripeptide-1 and Palmitoyl Tetrapeptide-7): Stimulates collagen and hyaluronic acid production, reduces wrinkles.
- Argireline (Acetyl Hexapeptide-8): Often called “Botox in a bottle,” it relaxes facial muscles to minimise expression lines.
- Copper Peptides (Copper Tripeptide-1): Promotes wound healing, collagen synthesis, and skin firmness.
Typical usage rates range from 2% to 5% depending on peptide type and manufacturer recommendations. For this DIY serum, we will optimise at a safe, effective 4% combined peptide concentration.
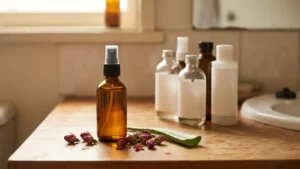
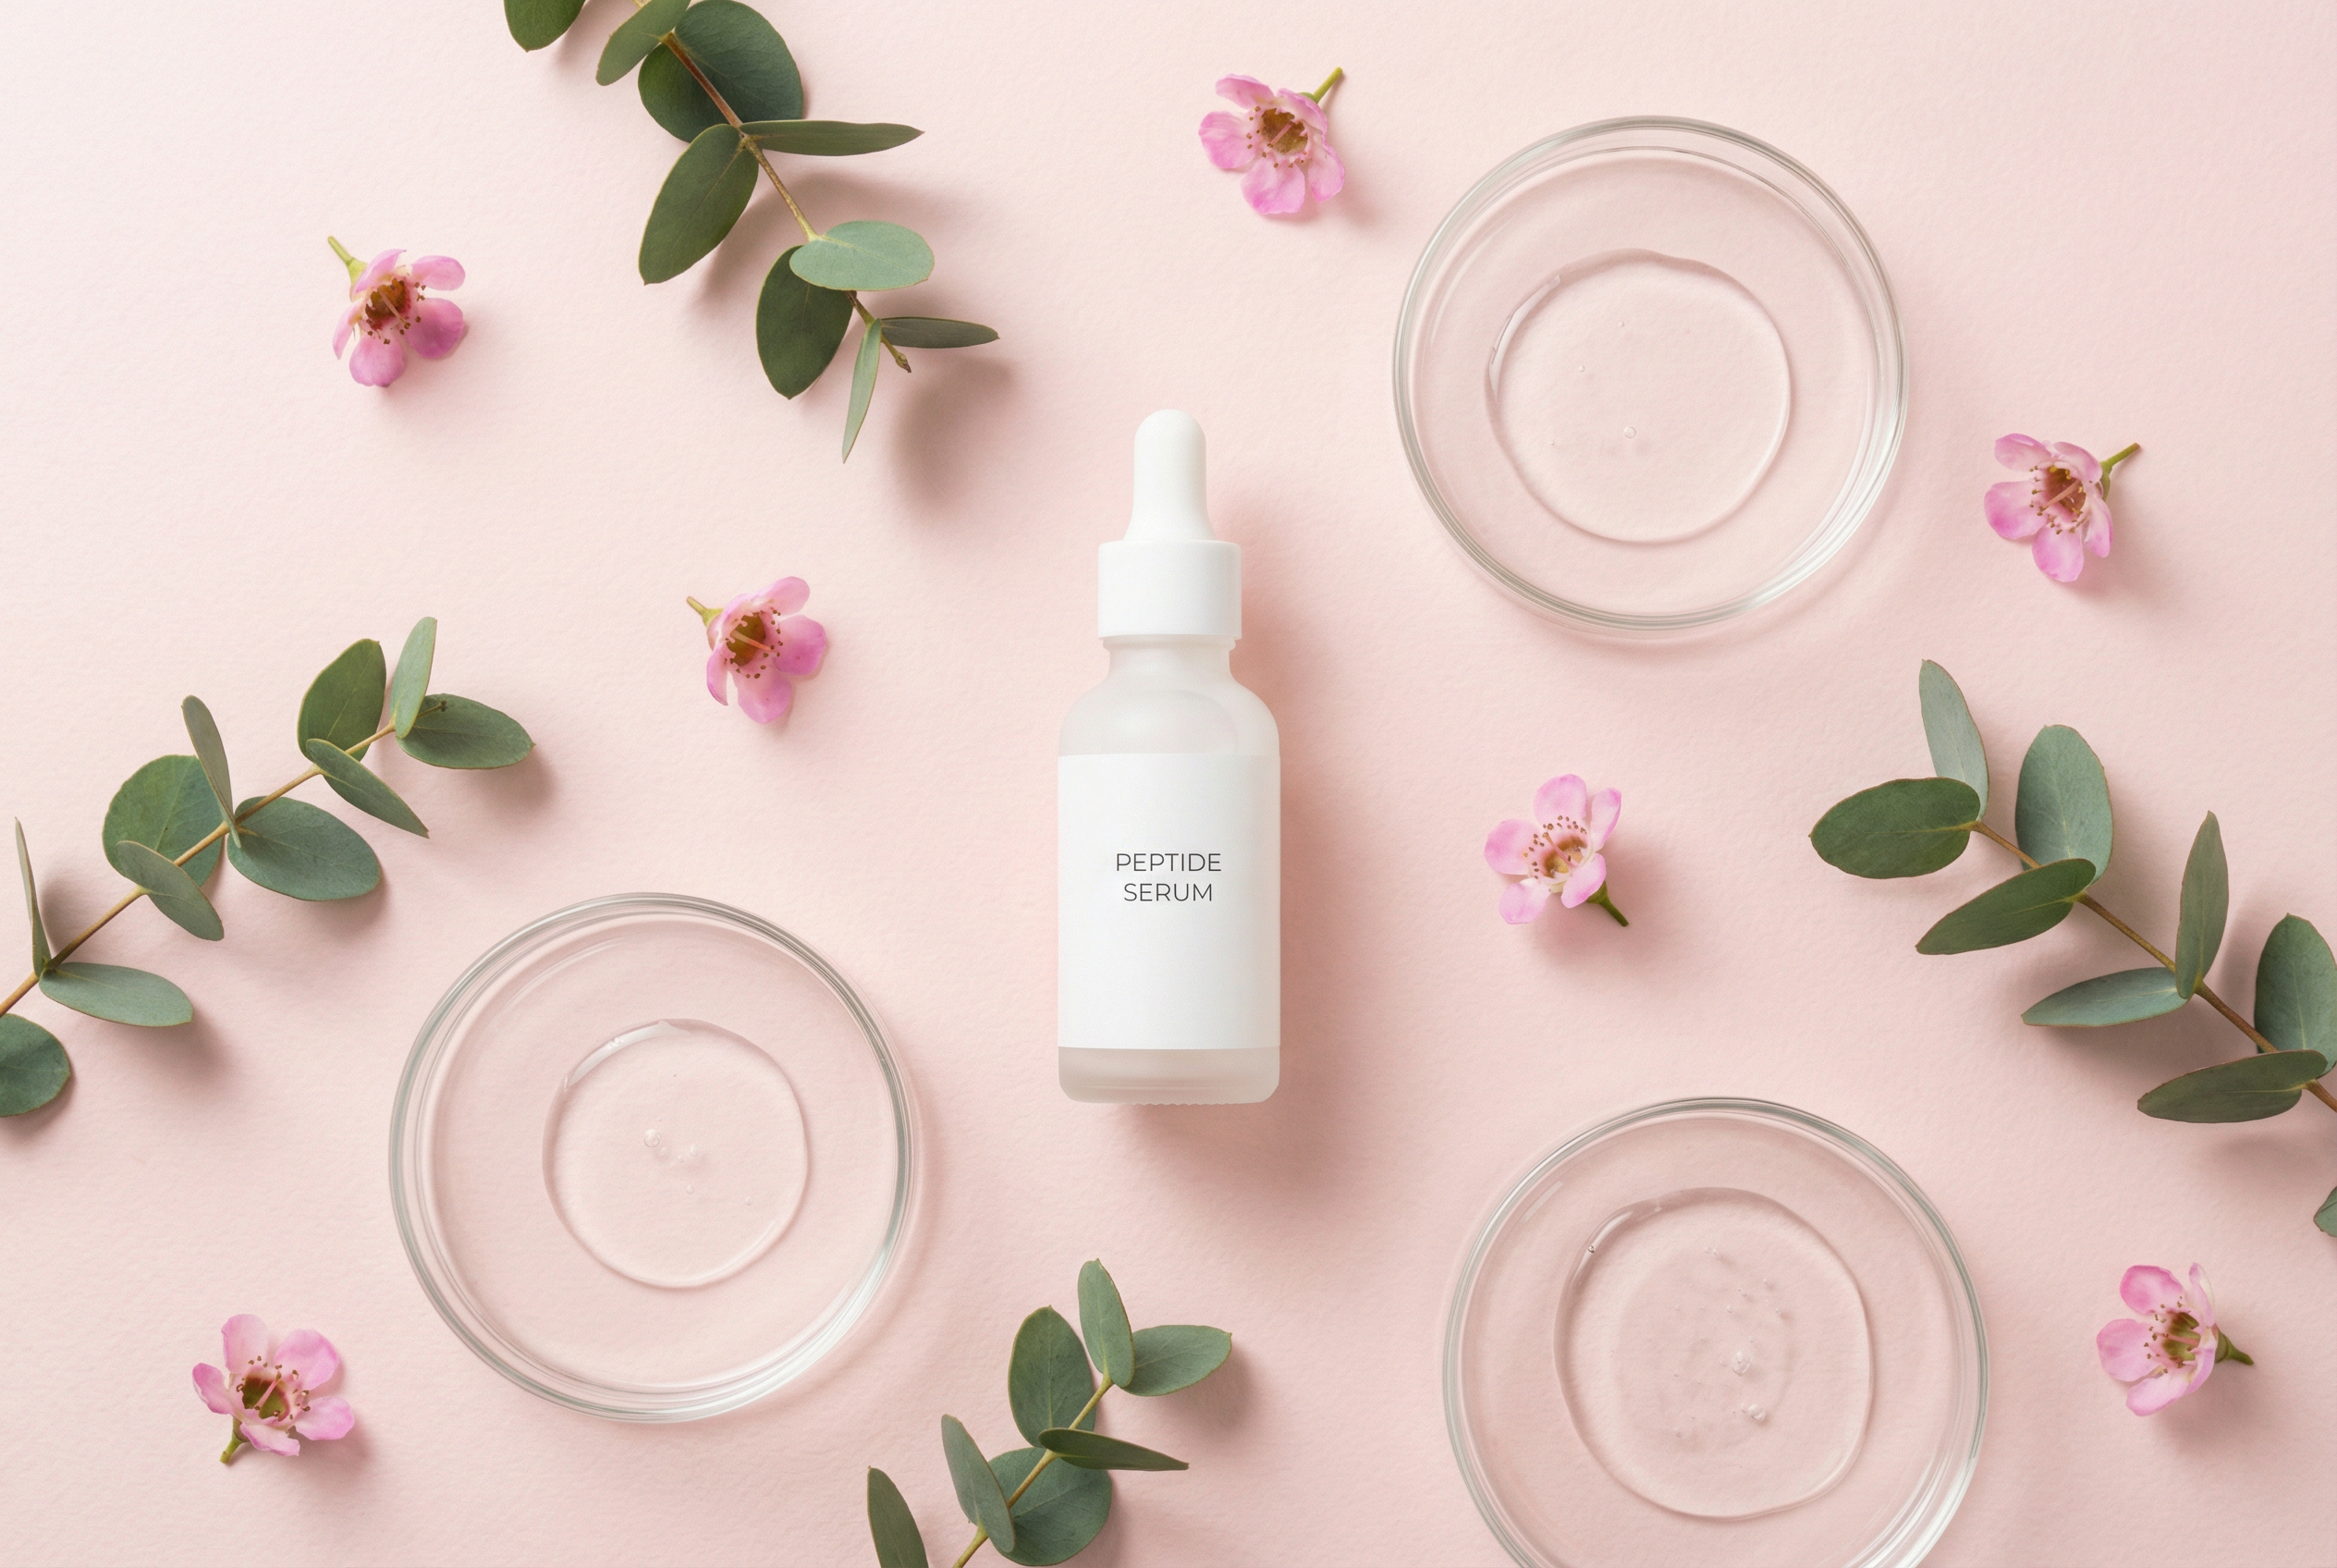
DIY Peptide Serum Ingredients List
| Ingredient | Function | Percentage (%) | Quantity (for 100g batch) |
|---|---|---|---|
| Distilled Water | Solvent and base | 70% | 70g |
| Matrixyl 3000 (Peptide blend) | Firming and collagen boost | 2% | 2g |
| Argireline | Anti-wrinkle peptide | 1.5% | 1.5g |
| Copper Peptides | Skin repair and firmness | 0.5% | 0.5g |
| Vegetable Glycerin | Humectant for hydration | 5% | 5g |
| Preservative (e.g., Geogard ECT) | Prevents microbial growth | 1% | 1g |
| Hyaluronic Acid (Low molecular weight) | Hydration and plumping | 2% | 2g |
| Panthenol (Vitamin B5) | Skin soothing and moisture retention | 2% | 2g |
| Phenoxyethanol and Ethylhexylglycerin | Additional preservative booster | 1% | 1g |
Step-by-Step Method to Make Your DIY Peptide Serum
- Prepare Your Workspace: Ensure your work surface and utensils are disinfected. Use gloves and an apron to maintain hygiene.
- Heat the Base: In a clean beaker, combine distilled water and vegetable glycerin. Gently warm to 40°C to help dissolve ingredients without degrading peptides.
- Hydrate Hyaluronic Acid: Slowly sprinkle hyaluronic acid powder into the warm water/glycerin mix while stirring continuously to avoid clumps. Allow it to fully hydrate and thicken, about 20 minutes.
- Add Panthenol and Preservatives: Stir in panthenol, Geogard ECT, and phenoxyethanol/ethylhexylglycerin blend until evenly distributed.
- Cool Down: Allow the serum base to cool below 30°C. Peptides are heat-sensitive and can degrade if added too early.
- Incorporate Peptides: Add Matrixyl 3000, Argireline, and Copper peptides. Mix gently but thoroughly to maintain peptide integrity.
- Adjust pH (Optional): Check the pH with pH strips; ideal serum pH is around 5.5. Adjust with lactic acid or sodium bicarbonate if needed.
- Transfer to Bottle: Pour the serum into an amber glass dropper bottle to protect from light degradation.
- Label and Store: Label your serum with the date and ingredients. Store in a cool, dark place or refrigerator.
Safety Notes and Storage Tips
- Patch Test First: Always perform a patch test on a small skin area before full application to check for sensitivity.
- Keep it Clean: Use sterilised utensils and containers to avoid contamination.
- Preservative is Essential: Since this serum contains water, a broad-spectrum preservative is necessary to prevent bacterial or fungal growth.
- Storage: Store your DIY peptide serum in an amber or opaque bottle to minimise light exposure. Refrigeration can extend shelf life and maintain freshness.
- Shelf Life: With proper preservation and storage, your serum should last 6-8 weeks. Discard if any change in smell, colour, or texture occurs.
FAQs About DIY Peptide Serum
1. Can I use peptides with vitamin C or retinol?
Yes, peptides can be combined with vitamin C or retinol, but it’s best to introduce them gradually to avoid irritation. Vitamin C may lower pH, which can affect peptide stability, so consider using peptides in your morning routine and retinol at night.
2. How often should I apply my DIY peptide serum?
For best results, apply 2-3 drops of the peptide serum to clean skin once or twice daily, preferably before moisturiser and sunscreen during the day.
3. Can I substitute other peptides in this formula?
Absolutely, but ensure you research the recommended usage rate and compatibility. Avoid combining too many peptides to reduce risk of irritation and maintain efficacy.
4. What if I don’t have all the ingredients listed?
While some ingredients like peptides and preservatives are crucial, you can omit extras like panthenol or adjust glycerin levels. However, always keep preservatives in water-based formulas to prevent contamination.
5. Will this serum work on sensitive skin?
Generally, this formula is gentle, but sensitive skin types should patch test first. Avoid if you have known allergies to any ingredient and consult a dermatologist if unsure.
Final Thoughts: Embrace the Power of DIY Skincare
Crafting your own DIY peptide serum is not just a cost-effective approach, it’s a rewarding way to understand and take charge of your skincare. By blending potent peptides with nourishing humectants and careful preservation, you create a personalised product tailored to firm, hydrate, and rejuvenate your skin. Whether you’re a beginner eager to experiment or an experienced formulator refining your routine, this serum is a fantastic addition to your anti-ageing arsenal.
So why wait? Gather your ingredients, follow the steps, and start formulating your way to radiant, firmer skin today. DIY skincare empowers you to put science and nature in perfect harmony right in your own hands.
You May Also Like